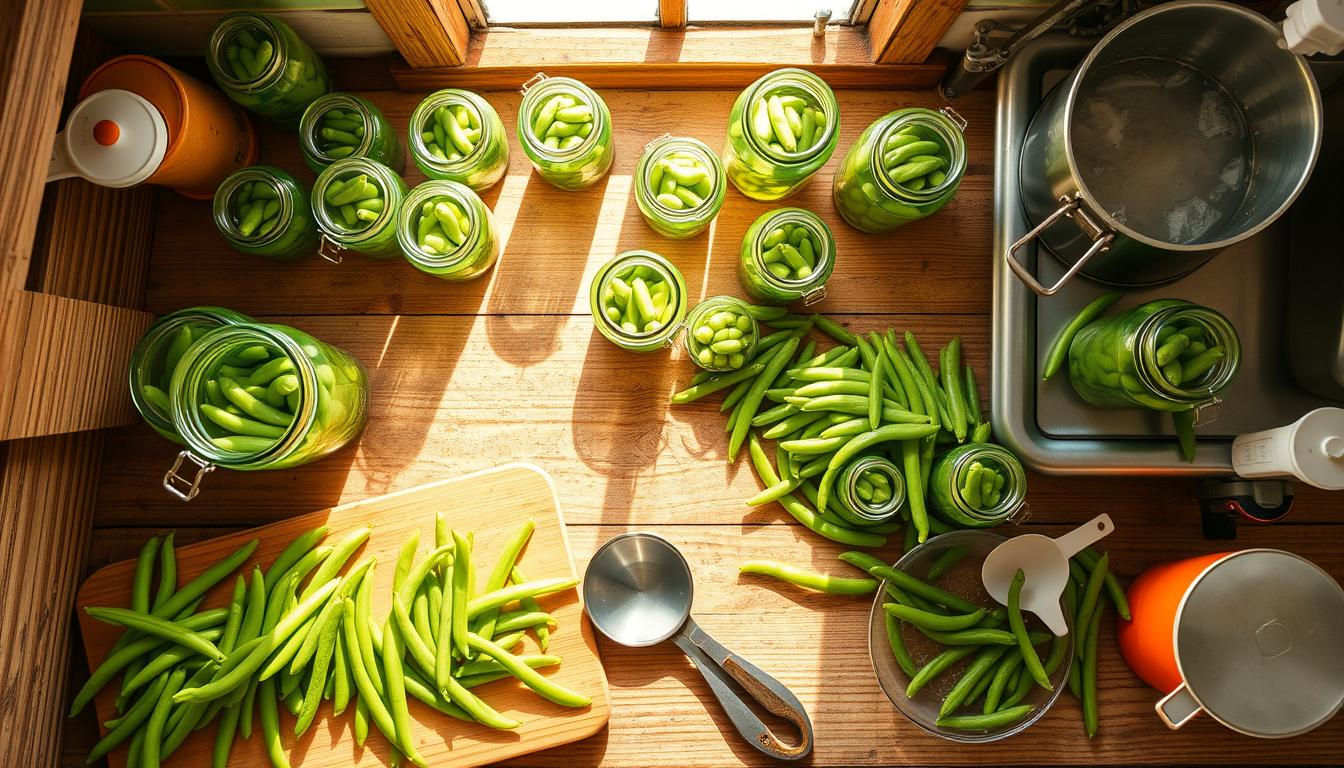
Canning green beans at home is a great way to keep your garden’s freshness all year. This guide will show you how to can green beans the right way. You’ll learn how to keep their flavor and texture perfect.
By following these steps, you’ll be able to enjoy green beans even when they’re out of season. We’ll cover everything from picking the best green beans to the safety steps you need to take. You’ll be able to make delicious home-canned green beans that will impress everyone.
Key Takeaways
- Green beans can last 1-5 years when canned properly.
- Use pint jars for 20 minutes and quart jars for 25 minutes at 10 pounds of pressure.
- Adjust pressure levels based on your altitude for optimal safety.
- Add salt or lemon juice to maintain the vibrant green color.
- Store canned green beans in a cool, dry place to ensure quality.
- Check for spoilage signs before consuming any canned green beans.
Introduction to Canning Green Beans
Home canning green beans is a tradition that lets you enjoy summer flavors in winter. It keeps your garden produce fresh all year. This method has been around for ages, helping people be self-sufficient and explore new recipes.
Learning how to can green beans is key. It involves using high-pressure canning or water baths. This way, you keep your beans fresh and full of flavor. It’s a rewarding process that brings joy to your kitchen.
In this guide, you’ll learn the best ways to can green beans. You’ll find out what equipment you need and how to prepare. Start your canning journey and enjoy the taste of summer in every jar, no matter the season.
The Benefits of Home Canning Green Beans
Home canning green beans is great for your health and wallet. It saves a lot on grocery bills. Canned green beans are cheaper than frozen or fresh ones.
By canning at home, you pick the ingredients. You use fresh, seasonal green beans without additives. Canned veggies, like tomatoes, can have more vitamins and minerals than fresh ones.
Canning green beans is good for the planet and cuts down on waste. It lets you save beans from your garden or big buys. Plus, it makes the beans’ fiber better for your digestion.
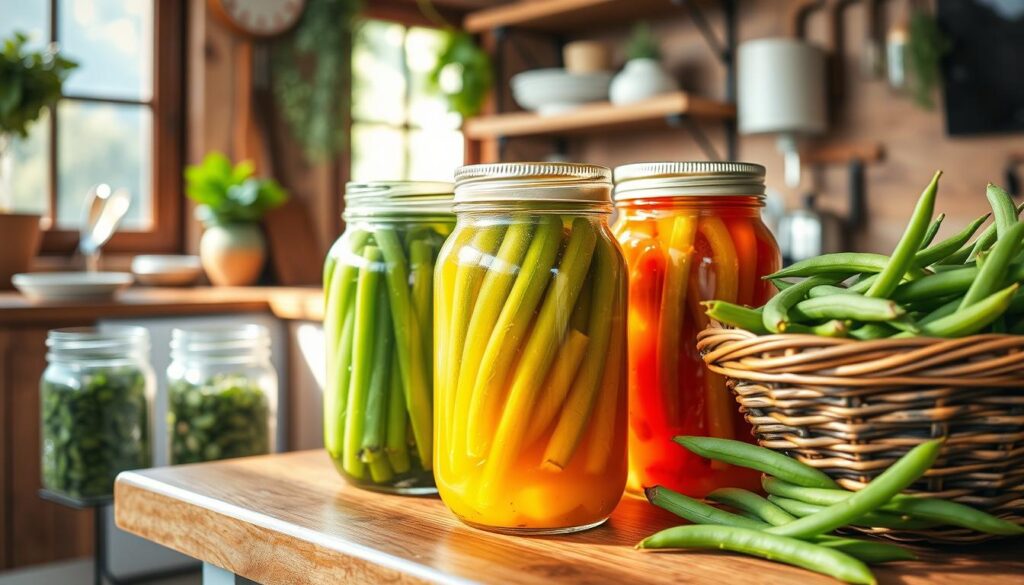
Lastly, canning green beans lets you enjoy summer flavors in winter. It’s not just about saving food; it’s a rewarding experience. You get to eat healthy, tasty meals all year, feeling self-sufficient.
| Aspect | Details |
|---|---|
| Cost | Canned green beans cost half as much as frozen and one-fifth of fresh vegetables. |
| Nutritional Benefits | Canned vegetables retain nutrients; canned tomatoes contain more B vitamins, vitamin E, and carotenoids. |
| Ingredient Control | You select fresh, seasonal ingredients without preservatives or additives. |
| Reduces Waste | Preserves excess produce, preventing spoilage and food waste. |
| Sustainability | Canning contributes to sustainable practices in food consumption. |
| Healthier Diet | Foods canned at home increase intake of essential nutrients. |
Essential Equipment for Canning Green Beans
To can green beans successfully, you need the right equipment. Knowing the different methods helps you pick the best one for you.
Pressure Canner vs. Water Bath Canning
There are two main ways to can: pressure canning and water bath canning. Pressure canning is key for low-acid foods like green beans. It uses a special canner to reach high temperatures and prevent botulism. On the other hand, water bath canning is for high-acid foods and involves boiling jars in water. Choosing the right method is crucial for safe and good preservation.
Must-Have Tools for Success
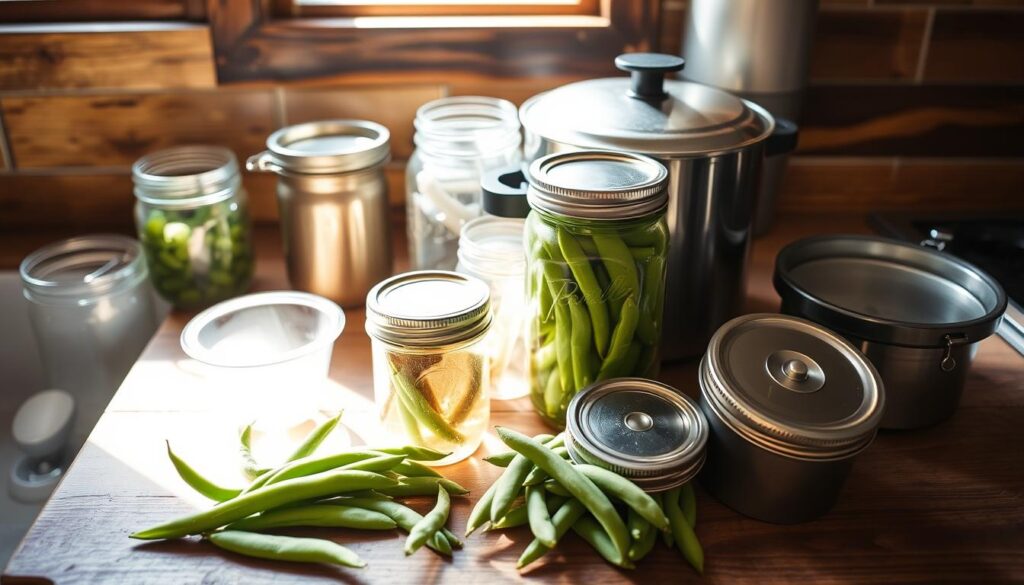
Quality tools are essential for canning success. You’ll need:
- Canning jars with new lids and bands
- A large pot or pressure canner
- Jar lifter for safe handling of hot jars
- Canning funnel for easy filling
- Bubble remover to eliminate air pockets
- Tongs for gripping lids
- Clean cloths for sanitation
Having these tools makes canning easier and safer. They help you focus on pressure canning green beans well. Keeping everything clean and organized is key to preserving your canned food’s freshness and quality.
Choosing the Right Green Beans for Canning
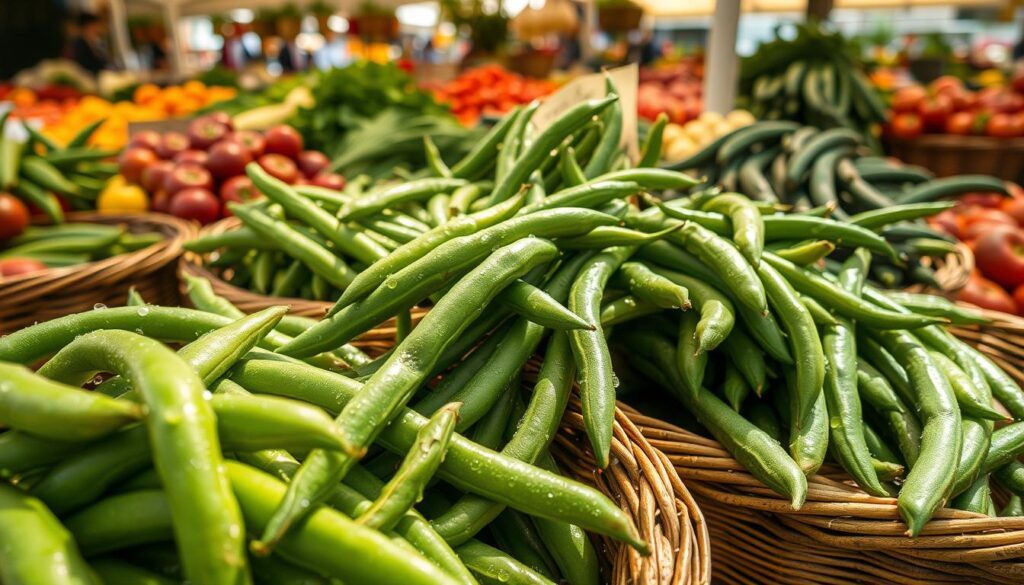
Choosing the right green beans is key for canning success. Look for beans that are bright green, firm, and snap easily. These signs mean the beans are fresh and perfect for preserving.
What to Look For in Fresh Green Beans
When picking fresh green beans, remember these important points:
- Color: A vibrant green color means they’re fresh.
- Texture: They should be firm, not limp or mushy.
- Size: Choose beans that are all about the same size for even cooking and looks in jars.
- Snap: Fresh beans should snap easily when bent.
Knowing when to pick green beans is also vital. They’re usually at their best in midsummer. This ensures they keep their flavor and texture when canned. Picking them at this time means your canned beans will taste as fresh as when they were picked.
Prepping Green Beans for Canning
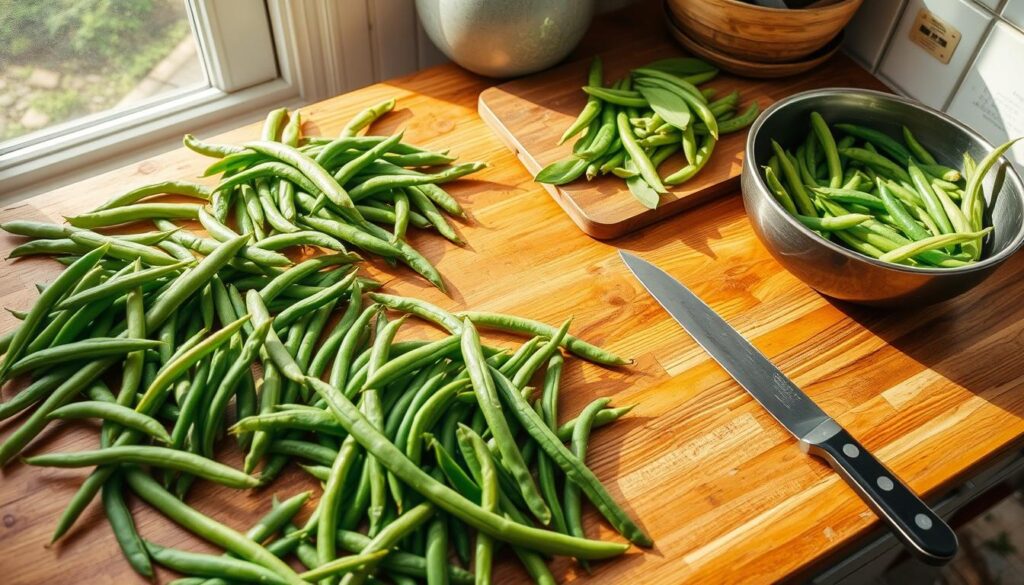
Getting green beans ready for canning is key to a great product. This first step affects the taste and quality of your canned green beans. Start by cleaning the beans to get rid of dirt or debris.
Wash the beans under cool water to remove impurities. This step is important to keep flavors good. After washing, cut off the ends of the beans to get them ready for cutting.
Cleaning and Cutting Techniques
Once the beans are clean, cut them into equal pieces. This is crucial for even cooking and texture in your canned green beans. Cut them into 1 to 2 inches long pieces to avoid size differences.
Good cutting techniques make your beans look nice and cook evenly. This is important for the canning process.
Importance of Pack Density in Jars
Pack density is important for keeping your canned green beans fresh. Don’t pack the beans too tightly, as this can cause air pockets. Instead, pack them loosely to allow for expansion during processing.
This method helps keep the beans intact, improving your canned green beans’ quality.
Step-by-Step Process for Canning Green Beans
Canning green beans requires several steps to keep them fresh and safe. You’ll use the raw packing method to preserve their taste and make them easy to store. Follow these steps carefully for the best results.
Raw Packing Method
The raw packing method fills jars with fresh, unprocessed green beans. First, wash the green beans well and cut them to your liking. Fill quart-sized Mason jars, leaving about 1 inch of space at the top. This space lets the beans expand during processing.
Adding Salt and Water
Next, add flavor to your jars. Put 1 teaspoon of salt in each quart-sized jar. Then, pour boiling water over the beans until they’re fully covered, keeping that 1 inch of space. This step is key for safe preservation during sealing.
Sealing and Processing in the Canner
After filling and topping your jars with water, ensure a tight seal. Place the lids on and screw the rings until they’re just tight enough to hold. Follow your canner’s instructions to prepare it, whether it’s a pressure canner or a water bath canner. For pressure canning, use 10-15 PSI based on altitude and the manufacturer’s advice. Green beans usually need 20 to 25 minutes of processing to kill bacteria.
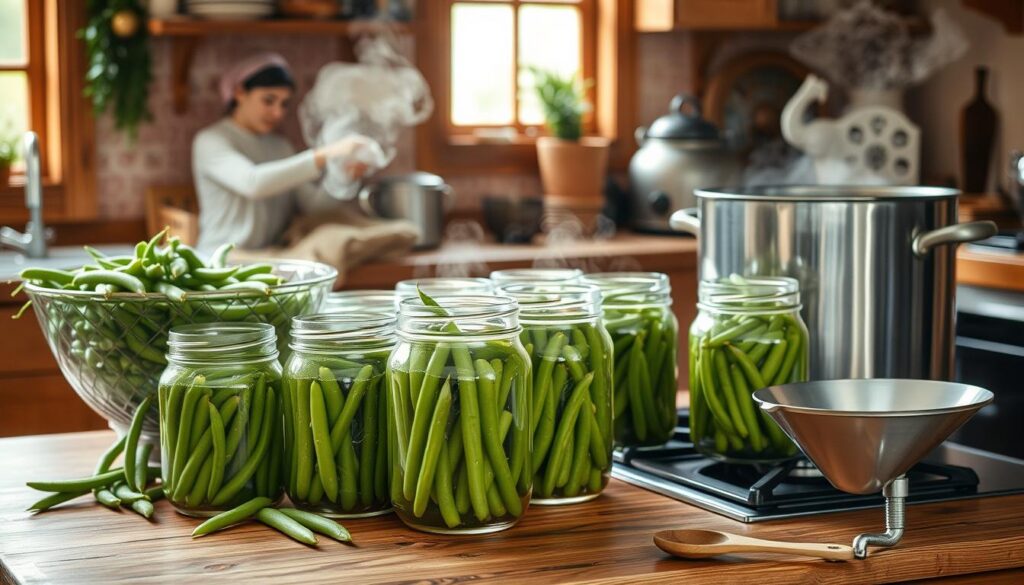
After processing, let the jars cool for 12-24 hours without moving them. Check each jar to see if it’s sealed properly. A sealed jar won’t flex when pressed in the middle. Store your canned green beans in a cool, dark place for the best flavor.
Canning Green Beans: Cooking Times and Pressure Levels
Success in canning green beans depends on knowing the right cooking times and pressure levels. Following these guidelines helps keep your food tasty, fresh, and full of nutrients.
Recommended Processing Times Based on Jar Size
Processing times for canning green beans change with jar size. Here are the times needed for different jar sizes at sea level:
| Jar Size | Processing Time | Pressure Levels |
|---|---|---|
| Pint | 20 minutes | 10 pounds pressure |
| Quart | 25 minutes | 10 pounds pressure |
These times are for pressure canning, which is key for safely keeping foods like green beans.
Adjusting For Altitude
Altitude affects boiling points, so processing times need to be adjusted. At high elevations, times can almost double. Always check altitude charts and adjust times to ensure safe canning.
By focusing on the right cooking times and pressure levels, you can make delicious home-canned green beans. This way, you can enjoy your harvest even after the growing season is over.
Storing and Labeling Your Canned Green Beans
After canning your green beans, it’s key to store and label them right. This keeps your hard work safe and lets you enjoy your canned green beans longer. Here are some tips for storing and labeling your jars.
Optimal Storage Conditions
For storing canned green beans, remember these tips:
- Cool temperatures: Store jars in a cool, dark spot. The best temperature is between 50°F and 70°F.
- Avoid sunlight: Sunlight can make the product go bad faster.
- Dry environment: Keep the storage area dry to prevent rust on cans.
- Check for defects: Look over the cans before storing. Don’t store cans with dents, rust, or leaks as they can be unsafe.
How to Label Your Jars for Best Practices
Labeling jars is important to keep track of what you have. Here’s how to do it right:
- Include the date: Write the canning date on each jar. This helps you know how long they’ve been stored.
- List contents: Clearly label what’s inside each jar. For example, “Canned Green Beans.”
- Use waterproof labels: Pick labels that won’t smudge or fade. This keeps the information clear for later.
- Rotate stock: Use the “first in, first out” rule. This ensures older jars are eaten first, reducing spoilage.
By following these tips, you’ll make storing and enjoying your canned green beans easier. It helps you keep track and enjoy your preserved food.
Tips for Successful Canning Green Beans
Canning green beans can be very rewarding. But, it’s key to follow certain guidelines for success. Knowing some tips and avoiding common mistakes can make your experience better.
Common Mistakes to Avoid
Knowing common canning mistakes is crucial for perfect canned green beans. Here are some mistakes to watch out for:
- Not sterilizing jars well, which can cause spoilage.
- Incorrect pack density in jars; aim for 1/4 to 1/2 inch of headspace for a good seal.
- Using the wrong canning method. Remember, pressure canning is best for low-acid foods like beans.
- Skipping the recommended processing times, which can be unsafe.
Expert Tips for First-Time Canners
Here are some tips for canning green beans to help you:
- Stick to tested recipes and processing times for safety.
- Get a reliable pressure canner for consistent results. It reaches temperatures around 240°F to kill harmful bacteria.
- Plan for about 3 hours and 55 minutes for prep, cooking, and processing to manage your time well.
- Keep your jars in a cool, dark place to keep them good for up to a year.
| Aspect | Recommended Practice |
|---|---|
| Sterilizing Jars | Essential for preventing spoilage |
| Headspace | Leave 1/4 to 1/2 inch in jars |
| Canner Type | Use pressure canner for low-acid foods |
| Processing Time | Follow altitude-adjusted guidelines |
| Shelf Life | 1 year in cool storage, 2-3 weeks in fridge after opening |
Variations and Recipes for Canned Green Beans
Canned green beans are great for many creative recipes. You can make them taste better by adding different flavors and ingredients. Try savory, spicy, or herby tastes to make your green beans special.
Flavoring Options and Add-ins
There are many ways to flavor canned beans. Here are some ideas:
- Garlic: Minced garlic adds a strong taste.
- Herbs: Use fresh or dried herbs like thyme, basil, and rosemary.
- Onions: Sautéed onions add sweetness and depth.
- Spices: Try paprika, cayenne, or red pepper flakes for spice.
- Acid: A bit of vinegar or lemon juice brightens the dish.
- Ham or Bacon: Add ham hock or bacon for a smoky taste.
Creative Recipes Using Canned Green Beans
Canned green beans are great in many dishes. Here are some tasty recipes:
- Green Bean Soup: Mix green beans with potatoes, garlic, and seasonings. Simmer for a comforting soup. Store it in the fridge for 3-4 days or freeze for up to 3 months.
- Green Bean Casserole: Combine green beans with cream of mushroom soup, cheddar cheese, and crispy fried onions. It’s a classic for family gatherings.
- Stir-Fried Green Beans: Stir-fry green beans with chicken or tofu and soy sauce. It’s a quick and tasty meal.
- Salads: Mix green beans with fresh greens, cherry tomatoes, and a light vinaigrette. It’s a healthy salad option.
Try different flavors and recipes to make green beans exciting. They can be the star of any meal.
Canning Green Beans: Safety Precautions and Best Practices
When you’re canning at home, safety comes first. It’s important to know about botulism risks to keep your food safe. Low-acid foods need special care to avoid harmful bacteria. Following USDA canning guidelines helps keep your food safe.
Understanding Botulism Risks
Botulism is a big concern when canning green beans. This bacterium grows in places without air, like in bad canning jobs. To avoid this, use a pressure canner for green beans. Make sure your canner hits 240°F (116°C) to kill off botulism.
Always check your canner’s pressure gauge. Also, follow the recommended processing times for your jar size.
USDA Guidelines for Home Canning
Following USDA canning guidelines is crucial for success. These guidelines offer detailed advice on safe canning. They cover:
- Choosing the right canning method for each food.
- Keeping your canning gear in top shape.
- Following the right times and temperatures for processing.
By sticking to these guidelines, your canned green beans will be tasty and safe to eat.
Conclusion
Canning green beans at home is a rewarding endeavor. It lets you enjoy the freshest tastes all year. This recap highlights the joy of preserving your harvest, turning garden efforts into tasty meals.
With the right techniques, you can keep green beans’ vibrant flavors close. They’re perfect for everyday dinners or special occasions.
The importance of home canning is huge. It lets you control your food’s ingredients and boosts self-sufficiency. Following safety practices and USDA guidelines ensures your canned goods stay good for a long time.
Enjoying your home-canned green beans is more than just eating. It’s about the whole journey of growing and preserving. This can be very fulfilling.
As you start canning, share your journey with others. Home canning is a great way to bond with family and friends over fresh produce. So, think about how you’ll make these practices part of your kitchen routine. This will lead to a more sustainable and delicious lifestyle.
FAQ
What is the best way to preserve green beans?
Do I need special equipment for canning green beans?
How do I select the right green beans for canning?
What are the steps involved in the canning process?
How do I store my canned green beans properly?
Are there safety precautions I should take while canning green beans?
Can I customize the flavor of my canned green beans?
check this recipe out for more
